Mastering DIY SPC Flooring in Malaysia: A Step-by-Step Installation Guide for Homeowners

SPC (Stone Plastic Composite) flooring has rapidly become a favourite among Malaysian homeowners, and for good reason. Its durability, water resistance, and aesthetic appeal make it an ideal choice for our tropical climate. While professional installation is always an option, many homeowners are embracing the satisfaction and cost savings of a DIY approach. This comprehensive guide will equip you with the knowledge and confidence to successfully install SPC flooring in your Malaysian home, ensuring a beautiful and long-lasting finish that stands up to our unique environmental challenges, from humidity to the persistent threat of termites.
Pre-Installation Essentials: Setting the Stage for Success
1. Acclimatisation is Key (Especially Here!)
- Why it matters: While SPC flooring is highly stable, allowing the planks to acclimatise to your home's ambient temperature and humidity is still recommended. This minimises any minor expansion or contraction post-installation.
- How to do it: Place unopened boxes of SPC planks horizontally in the room where they will be installed for at least 48 hours (and up to 72 hours for larger projects). Ensure the room is maintained at typical living conditions (air conditioning on if that's how you usually live).
2. Subfloor Preparation: The Foundation of Flawless Flooring
Your subfloor must be clean, dry, flat, and structurally sound. This is non-negotiable.
- Cleanliness: Thoroughly vacuum and sweep the subfloor to remove all dust, dirt, and debris. Any small particles can create bumps under your new floor.
- Dryness: This is critical in Malaysia. Ensure the subfloor is completely dry. Use a moisture meter if possible (readings should be below 5%). For concrete subfloors, if there's any doubt about moisture, consider applying a moisture barrier.
- Flatness: The subfloor should be level. Use a straightedge or spirit level. Any deviations greater than 3mm over a 2-meter span need to be addressed.
- For concrete: Use a self-levelling compound to smooth out imperfections.
- For wood subfloors: Secure any loose boards, sand down high spots, and fill low spots with appropriate wood filler or plywood patches.
- Structural Soundness: Repair any cracks, holes, or damage to the subfloor. Ensure it's stable and free from movement.
3. Gathering Your Tools: Equip for Efficiency
Having the right tools at hand will make the installation process smoother and more efficient:
- SPC flooring planks (calculate 5-10% extra for cuts and waste)
- Utility knife or SPC cutter
- Measuring tape
- Pencil
- Rubber mallet or tapping block
- Spacers (for expansion gaps)
- Jigsaw or coping saw (for intricate cuts around door frames, pipes)
- Knee pads (your knees will thank you!)
- Safety glasses and gloves
- Underlayment (optional, but recommended for sound dampening and comfort – check manufacturer's recommendation)
4. Removing Existing Flooring and Skirting
Unless you're installing over an existing hard surface (like tiles, which must be perfectly flat and secure), it's often best to remove old carpet, linoleum, or damaged flooring. Also, carefully remove existing skirting boards. You can either reinstall them after the new floor is down or replace them with new, taller skirting for a refreshed look.
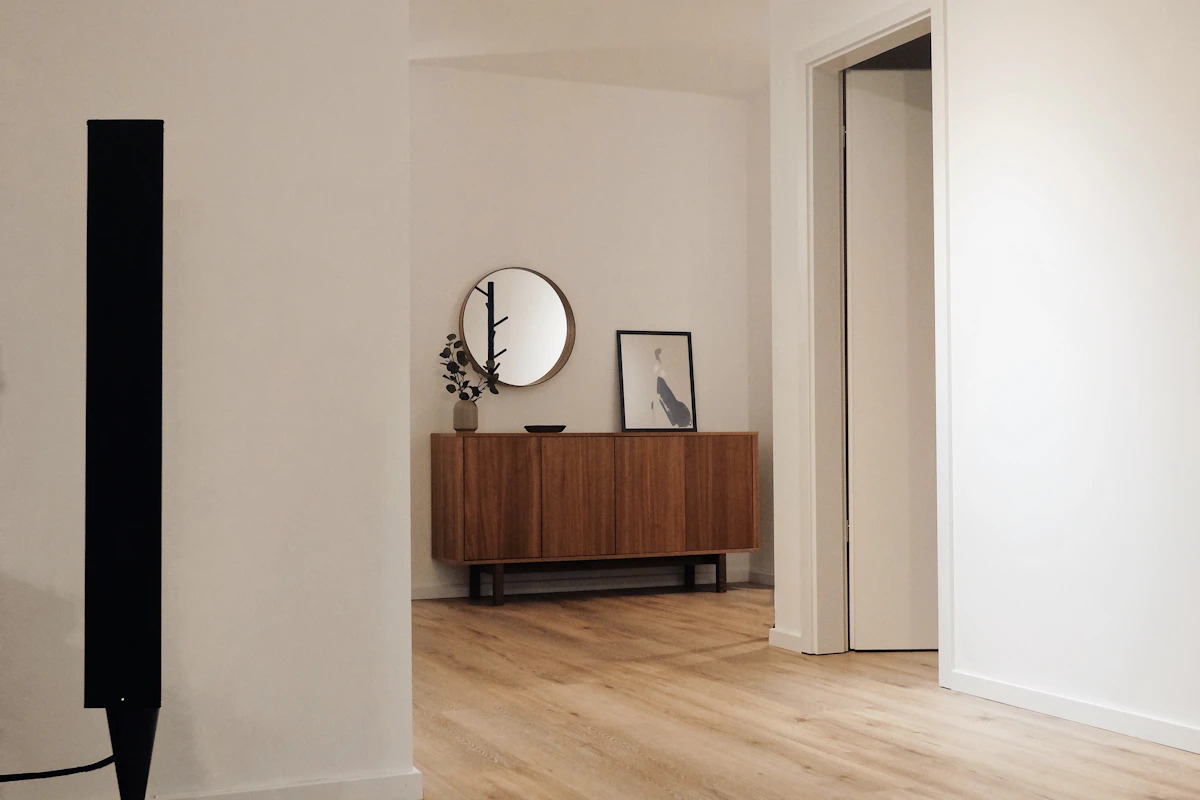
Step-by-Step SPC Flooring Installation: Laying It Right
With your preparation complete, it's time for the exciting part! SPC flooring typically uses a click-lock system, making it relatively straightforward for DIY enthusiasts.
1. Plan Your Layout: The Starting Point
- Direction: Decide which direction your planks will run. Generally, laying them parallel to the longest wall in the room or perpendicular to the main light source (windows) helps make the room appear larger and hides minor subfloor imperfections.
- First Row: Start in a corner, usually the longest, straightest wall. Ensure your first row is perfectly straight, as this dictates the straightness of your entire floor.
- Plank Width: Measure the room's width and divide by the plank width. If your last row will be very narrow (less than 5cm), consider trimming your first row slightly to balance the width of the first and last planks.
2. Installing the First Row: The Foundation
- Expansion Gap: Place spacers (typically 8-10mm) along the starting wall and side wall. This crucial expansion gap allows the flooring to expand and contract naturally with temperature changes, preventing buckling.
- Click and Lock: Take your first plank and lay it with the tongue side facing the wall. Take the second plank, angle it slightly, and insert its tongue into the groove of the first plank. Press down firmly to lock them together. Continue this until the end of the first row.
- Cutting the Last Plank: Measure the remaining space at the end of the row. Mark and cut the last plank using your utility knife (score multiple times and snap) or an SPC cutter. Remember to account for the expansion gap at the end wall.
3. Laying Subsequent Rows: Stagger for Strength and Aesthetics
- Start with Offcuts: Use the leftover piece from the end of the previous row (if it's at least 30cm long) to start your next row. This creates a staggered pattern, enhancing stability and aesthetics. Ensure end joints are offset by at least 15-20cm from the previous row's joints.
- Angle and Drop: Take a new plank for the second row. Angle it slightly (about 20-30 degrees) into the long side groove of the first row's planks. Once engaged, gently tap it down with a rubber mallet and tapping block until it locks securely into place. Then, using the tapping block, tap the short end to connect it to the previous plank in the same row.
- Consistent Tapping: Ensure all planks are fully engaged. A slight gap can lead to weak spots or water ingress.
4. Handling Obstacles: Doors, Pipes, and Corners
- Door Frames: Instead of cutting around the frame, it’s often easier and provides a cleaner finish to undercut the door frame. Use a scrap piece of SPC flooring as a guide for height and saw off the bottom of the frame, allowing the plank to slide underneath.
- Pipes: Measure the pipe's diameter and its distance from the wall and the previous plank. Drill a hole slightly larger than the pipe's diameter in the appropriate spot on the SPC plank. Cut a V-shape or U-shape from the plank to the hole, allowing you to install the plank around the pipe. Glue the cut-out piece back in place around the pipe.
- Irregularities: For complex shapes, create a template out of cardboard to transfer the exact shape to your SPC plank for cutting.
5. Finishing Touches: The Professional Look
- Remove Spacers: Once all planks are laid, carefully remove all the spacers.
- Install Skirting Boards/Trims: Reinstall your old skirting or attach new ones. Skirting boards cover the expansion gap and provide a neat, finished look. Ensure the skirting is attached to the wall, not the floor, to allow the floor to float freely.
- Transition Strips: For doorways leading to other flooring types or rooms, install appropriate transition strips to create a seamless and safe change in elevation.
- Clean Up: Wipe down your new floor, and admire your hard work!

Design & Layout Considerations: Aesthetics for Your Malaysian Home
Beyond the technical aspects, how you choose to lay your SPC planks can significantly impact the overall look and feel of your home. Consider these design elements to truly personalise your space.
1. Plank Direction and Room Perception
- Longer, Wider Rooms: Laying planks parallel to the longest wall can make a room appear even longer. If your room is narrow, laying planks perpendicular to the longest wall can make it feel wider.
- Light Source: Running planks parallel to the main light source (e.g., a large window) can help mask minor imperfections in the subfloor and create a more uniform look by minimising shadows between planks.
2. Staggering Patterns: The Art of Randomness
The staggered pattern isn't just for structural integrity; it's a key aesthetic element. Aim for a natural, random look. Avoid creating "H" patterns where end joints align across multiple rows. A general rule of thumb is to ensure end joints are offset by at least 15-20cm (or more, depending on plank length) from those in adjacent rows. This mimics the look of real wood flooring and distributes stress evenly.
3. Colour and Texture: Reflecting Malaysian Style
- Light vs. Dark: Lighter SPC colours can make smaller rooms feel more spacious and reflect more natural light, which is great for brightening up spaces in tropical homes. Darker colours add a sense of luxury and warmth but can make small rooms feel smaller.
- Wood Grain vs. Stone Finish: SPC comes in a vast array of designs.
- Wood Grain: Choose from Malaysian teak, merbau, oak, or exotic wood finishes. Consider the tone – warm (reddish/yellowish) or cool (greyish/whitish) – to match your existing decor.
- Stone/Tile Look: If you prefer the look of natural stone or ceramic tiles without the coldness or grout issues, SPC offers realistic marble, slate, or concrete finishes. These are particularly popular in modern minimalist Malaysian homes.
- Texture: Many SPC planks feature embossed-in-register (EIR) textures that perfectly align with the visual grain, providing a realistic feel underfoot. This adds to the authenticity and premium feel.
4. Seamless Transitions and Open Concepts
One of the beauties of SPC flooring is its stability. Unlike some other flooring types, you can often run SPC continuously across multiple rooms (up to a certain manufacturer-specified length/width) without the need for unsightly transition strips in doorways, creating a truly open-concept feel popular in many modern Malaysian homes. Always check the manufacturer's maximum continuous run specifications.
Frequently Asked Questions
1. Is SPC flooring suitable for Malaysia's hot and humid climate? add
2. How does SPC flooring fare against termites, a common problem in Malaysian homes? add
3. What is the typical cost of SPC flooring in Malaysia (per square foot) for DIY projects? add
4. Do I need an underlayment for SPC flooring in Malaysia? add
5. Can I install SPC flooring directly over existing ceramic tiles in my Malaysian home? add
Conclusion
Embarking on a DIY SPC flooring project in your Malaysian home is a rewarding endeavour. By meticulously following this guide, from crucial acclimatisation and subfloor preparation to precise installation and thoughtful design choices, you can achieve a professional-quality finish that significantly enhances your living space. Enjoy the durability, style, and peace of mind that SPC flooring brings, perfectly suited to our unique tropical environment.